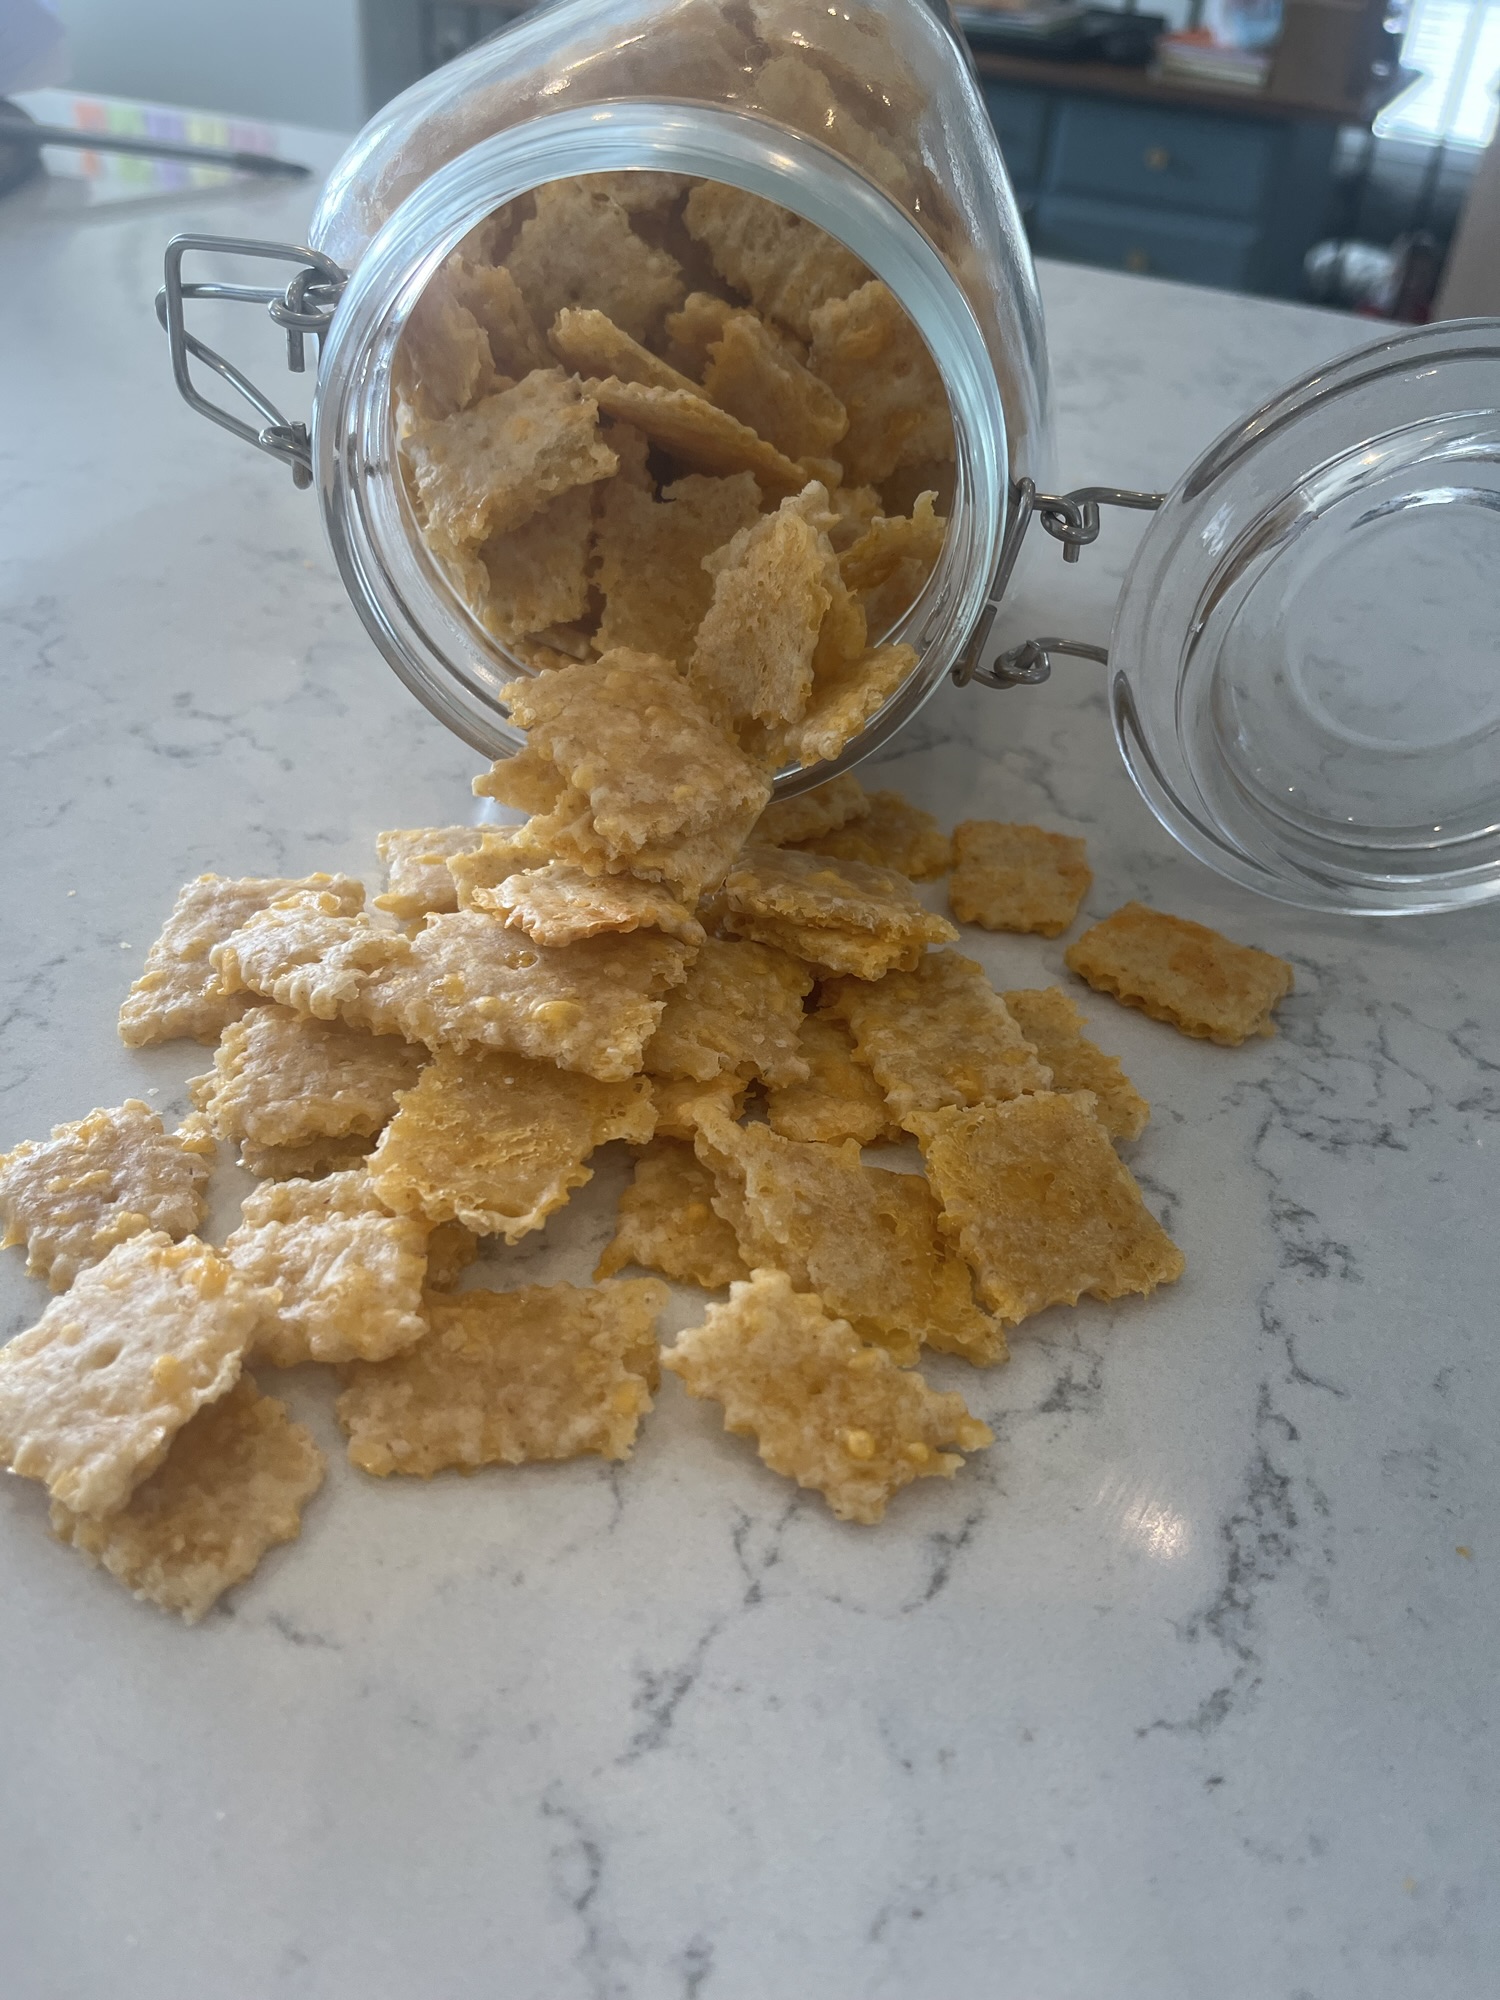
Homemade Cheeze-It-style crackers are made with real ingredients, packed with cheesy flavor, and baked to crispy perfection—plus, they’re way more fun (and tastier) than anything you’ll find in a box!
Homemade crackers are my new favorite thing.
Okay, hear me out—making crackers at home is way easier (and more fun) than it sounds. You don’t need any fancy equipment or weird ingredients, just a few basics from your pantry and about an hour of your time. And the best part? They taste so much better than store-bought. Once you try it, you’ll wonder why you didn’t start sooner.
What I love most is how hands-on and customizable it is. Want something cheesy? Done. Feeling herby or spicy? Go for it. You can roll the dough out, cut fun shapes, sprinkle on your favorite toppings—it’s kind of like edible arts and crafts. My kids love helping with this part, and honestly, so do I. It’s the perfect little kitchen project when you want something low-stress but totally satisfying.
And let’s be real—most boxed crackers taste a little…meh. They’re fine in a pinch, but once you’ve had a fresh, crispy, homemade cracker that’s packed with real flavor, it’s hard to go back. You can actually taste the cheese, the butter, the salt—it’s snack magic.
If you’re ready to give it a go, start with these homemade cheese-its. They’re golden, salty, extra cheesy, and basically everything you love about the store-bought version—but made from scratch. Trust me, they’re a total crowd-pleaser (and dangerously easy to eat by the handful).
If you’ve never made sourdough discard crackers before, I promise they’re worth trying. They’re simple, flavorful, and endlessly customizable. And once you taste the cheesy version? You’ll never look at those little fish the same way again.

The secret to great crackers? Rolling the dough really thin and keeping it even. The thinner you go, the crispier the crackers. I usually divide the dough in half and roll it out on two separate baking sheets to keep things manageable.
I always roll my dough right onto parchment paper. I’ve tried silicone mats before, but they just don’t give me that same crisp finish. Parchment is where it’s at for that perfect crunch.

Once the dough’s rolled out, I grab my crimped cutting wheel or a little fish-shaped cutter to slice it into fun shapes—squares, fish, whatever I’m in the mood for. Then I use a toothpick to poke a hole in the center of each cracker. It’s a tiny step that makes a big difference—it keeps them from puffing up in the oven so they stay flat and crispy.


Once you’ve got your crackers all cut out and ready to go, bake them at 325°F for about 40–50 minutes. I like to rotate the pans halfway through so they bake evenly. Keep an eye on the edges as you get close to the end—those crackers tend to brown faster. Sometimes I’ll pull a few of the crispy ones off early and pop the rest back in so the middle crackers have a little extra time to finish up and get perfectly crunchy.

Store any crackers you don’t eat in an air-tight container. They’re best enjoyed within a week.
Pro Tip: Grate your own cheese … It works so much better! And if you have a food processor, you can throw all the ingredients in there and pulse it until the dough forms. Which makes this recipe even easier!

Discard Cheddar Crackers

Equipment
- Medium mixing bowl
- Kitchen scale
- Cheese grater or food processor
- Sheet Pan
- Rolling Pin
- crimped cutting wheel or fish-shaped cutter
Ingredients
- 28 grams unsalted butter, melted (about 2 tablespoons)
- 200 grams sourdough discard, less than 2 weeks old
- 150 grams sharp cheddar cheese, freshly grated
- 100 grams all purpose flour
- 6 grams salt
- flakey or coarse sea salt, optional, for sprinkling on top before baking
Instructions
- In a mixing bowl, combine melted butter and discard. Mix well so there are no big clumps of discard remaining.
- Add grated cheese, salt and flour and mix until everything is combined.
- Knead on the counter for 1-2 minutes to make sure everything is combined and evenly incorporated. If using a food processor, pulse a couple times until the dough comes together.
- If fermenting, place dough back into mixing bowl, cover and place in fridge up to 24 hours.
- Divide dough in to 2 even sections. Place each portion on a piece of parchment paper and roll out as thin and evenly as you can. The thinner you roll them, the quicker they'll cook and the more crisp they'll be.
- Using your crimped cutting tool, cut into 1 inch squares. Using a toothpick or fork, poke a hole in the center of each square.
- Repeat with the second portion of your dough.
- If desired, sprinkle with a flakey salt (or sometimes we like garlic salt) then bake at 350F for about 20 minutes. Make sure you rotate the pans half way.
- After about 20 minutes, check on the crackers. They should be starting to crisp, but might be a little bit soft still. Continue baking until they're almost at your desired crispness. Then turn off the oven and crack the door open. Allow the crackers to continue baking while the oven cools. Crackers are finished baking when they are lightly golden and feel crispy to the touch.
- Let cool completely on pan, then break them apart and store in an air tight container for up to a week. But I doubt they last that long.
Notes
Some of the links on this page are affiliate links. This means that if you click on a link and make a purchase, I may earn a small commission at no extra cost to you. These commissions help support the content I create and allow me to continue providing valuable information. I only recommend products and services that I trust and believe in.
Leave a Reply