
Bright, tangy, and just a little sweet — this cranberry orange sourdough loaf is a perfect balance of soft, chewy bread and bursts of juicy citrus flavor. It’s a fun way to take your sourdough baking up a notch, and the addition of cranberries and fresh orange zest makes it irresistible.
There’s something so satisfying about a loaf of sourdough that’s both familiar and a little unexpected. This Cranberry Orange Sourdough Loaf takes your classic artisan bread and brightens it with juicy bursts of cranberries and the fresh zing of orange. It’s lightly sweet, naturally tangy from the sourdough, and just the right balance of soft crumb and chewy crust — perfect for breakfast, a snack, or sharing with friends.

What makes this loaf really special is how the flavors come together. The orange zest and juice give a bright, citrusy note that complements the slight tartness of the cranberries, while plumping the dried cranberries in orange juice ensures they stay tender and flavorful throughout the bake. You can even swap in fresh cranberries if you prefer, for a bright, tangy pop in every bite. Whether you’re an experienced sourdough baker or trying something new, this loaf is approachable, rewarding, and utterly delicious.
My dough feels too sticky and hard to handle.
If you’re new to sourdough, you might notice that the dough feels a bit sticky — don’t worry, this is normal! The extra moisture from the orange juice and cranberries can make the dough softer than a typical loaf. A few tips: lightly flour your hands and work surface when shaping, use a bench scraper to help lift and fold the dough, and remember that a sticky dough usually means a tender, moist crumb after baking. With a little patience and gentle handling, you’ll get a gorgeous, flavorful loaf that’s worth every minute.
My dough feels too sticky and my loaf didn’t rise much during bulk fermentation
Pumpkin puree, spices, and even chocolate chips can all slow fermentation — and if your kitchen is cool (as it often is in fall), your dough will take its time rising. Instead of watching the clock, watch the dough. You’re looking for it to rise about 60–70% in volume, feel lighter, and have bubbles along the sides or bottom of your bowl. If it’s sluggish, give it more time — sometimes an extra hour or two makes all the difference. You can also place the dough in a slightly warm spot, like inside your oven with just the light on or near a warm appliance. A little patience here gives you that soft, airy crumb later. I’ve also found that this loaf does amazing with an overnight bulk fermentation.
When should I add my dried cranberries?
I like to fold them in during the second stretch-and-fold so they’re incorporated without interfering with the dough’s rise. I also love to add them at this point because then they get spread evenly throughout the loaf. Because cranberries are large and oddly shaped, they can tear the gluten as it’s trying to develop. So by adding them in after a couple stretch and folds, you’re giving your dough a chance to get stronger before adding in your inclusions.
My loaf baked up dense instead of light and fluffy
Sometimes, even with the best intentions, this cranberry orange sourdough loaf can bake up a bit denser than expected. A few common reasons:
- Underdeveloped gluten – Sourdough relies on a strong gluten network to trap gas and create a light, airy crumb. If the dough wasn’t stretched and folded enough during bulk fermentation, it can result in a tighter, heavier texture.
- Overly wet or heavy mix-ins – The cranberries (especially if not well-drained after plumping) and the orange juice add extra moisture. Too much liquid without giving the dough time to absorb it can weigh it down and weaken the dough.
- Insufficient fermentation – Sourdough needs time to rise and develop flavor. If the bulk fermentation or final proof is too short, the dough doesn’t have enough gas buildup to make it airy, resulting in a denser loaf. Because the orange juice in this dough is always cold, it often takes longer to proof because of the cooler dough temperature.
- Overproofing – On the flip side, letting the dough rise too long can cause it to collapse in the oven, also leading to a heavier loaf.
Tip: Keep an eye on your dough during bulk fermentation — it should feel slightly puffy, stretchy, and hold a gentle indentation when poked. With practice, you’ll learn the perfect balance of hydration, mix-ins, and fermentation to get a tender, fluffy loaf every time.
The crust got too dark before the inside finished baking
With the orange juice and added sugar, this loaf can easily get too dark. It’s easy for the crust to darken before the interior is fully baked. If you notice your crust getting dark halfway through baking, simply tent the loaf loosely with foil. You can also lower the oven temperature to 425°F for a gentler, more even bake. Another option is to bake covered for the first 30 minutes, then uncover just long enough to let the crust turn golden and caramelized — not burnt. If you notice the bottom of your loaf is burning, try adding a handful of dried rice to the bottom of your Dutch oven and you’ll end up with a nice, soft loaf bottom.

Sample baking schedule.
| Day 1: 8 pm | Feed sourdough starter at 1:10:10 ratio |
| Day 2: 8 am | Mix up your dough |
| 9 am | Stretch and fold #1 |
| 9:30 am | Stretch and fold #2 add chocolate chips |
| 10 am | Stretch and fold #3 |
| 10:30 am | Stretch and fold #4 Let rest while bulk fermentation completes. |
| 3 pm | Preshape your dough (this is assuming your dough was about 75*F throughout bulk fermentation) |
| 3:30 pm | Final shape. Place dough in banneton and into fridge for cold proof. |
| Day 3: 9 am | Preheat oven and Dutch oven to 450*F |
| 9:45 am | Score dough & bake |
| 10:30 am | Bread is finished baking, let cool |
| 12 pm | Slice into that bread and enjoy a taste. |
Visual: How to do stretch and folds.

Gently pull up dough from one side of the bowl.

Fold it over into the middle. Turn the bowl a quarter turn.

Gently stretch the dough up again.

Fold over into the middle. Repeat on the remaining 2 sides.
Bulk Fermentation
Now let’s talk about the part of the process that tends to make bakers the most nervous: bulk fermentation. It’s tricky because there’s no single, clear-cut rule for when your dough is “ready.” Every batch behaves a bit differently depending on the temperature of your kitchen and the strength of your starter, which is why learning to read your dough is so important.
Personally, I like to err on the side of a slightly longer fermentation for this loaf. A touch of extra rise gives the bread that beautiful soft texture and light crumb. You’ll know your dough is ready when the surface looks slightly domed and it’s just beginning to pull away from the sides of the bowl. Look for small bubbles scattered throughout (though they can be harder to spot in a spiced, darker dough), and make sure it feels soft, airy, and a bit jiggly when you give the bowl a shake. If it still feels heavy or dense, give it more time. The best advice? Don’t watch the clock — watch your dough.

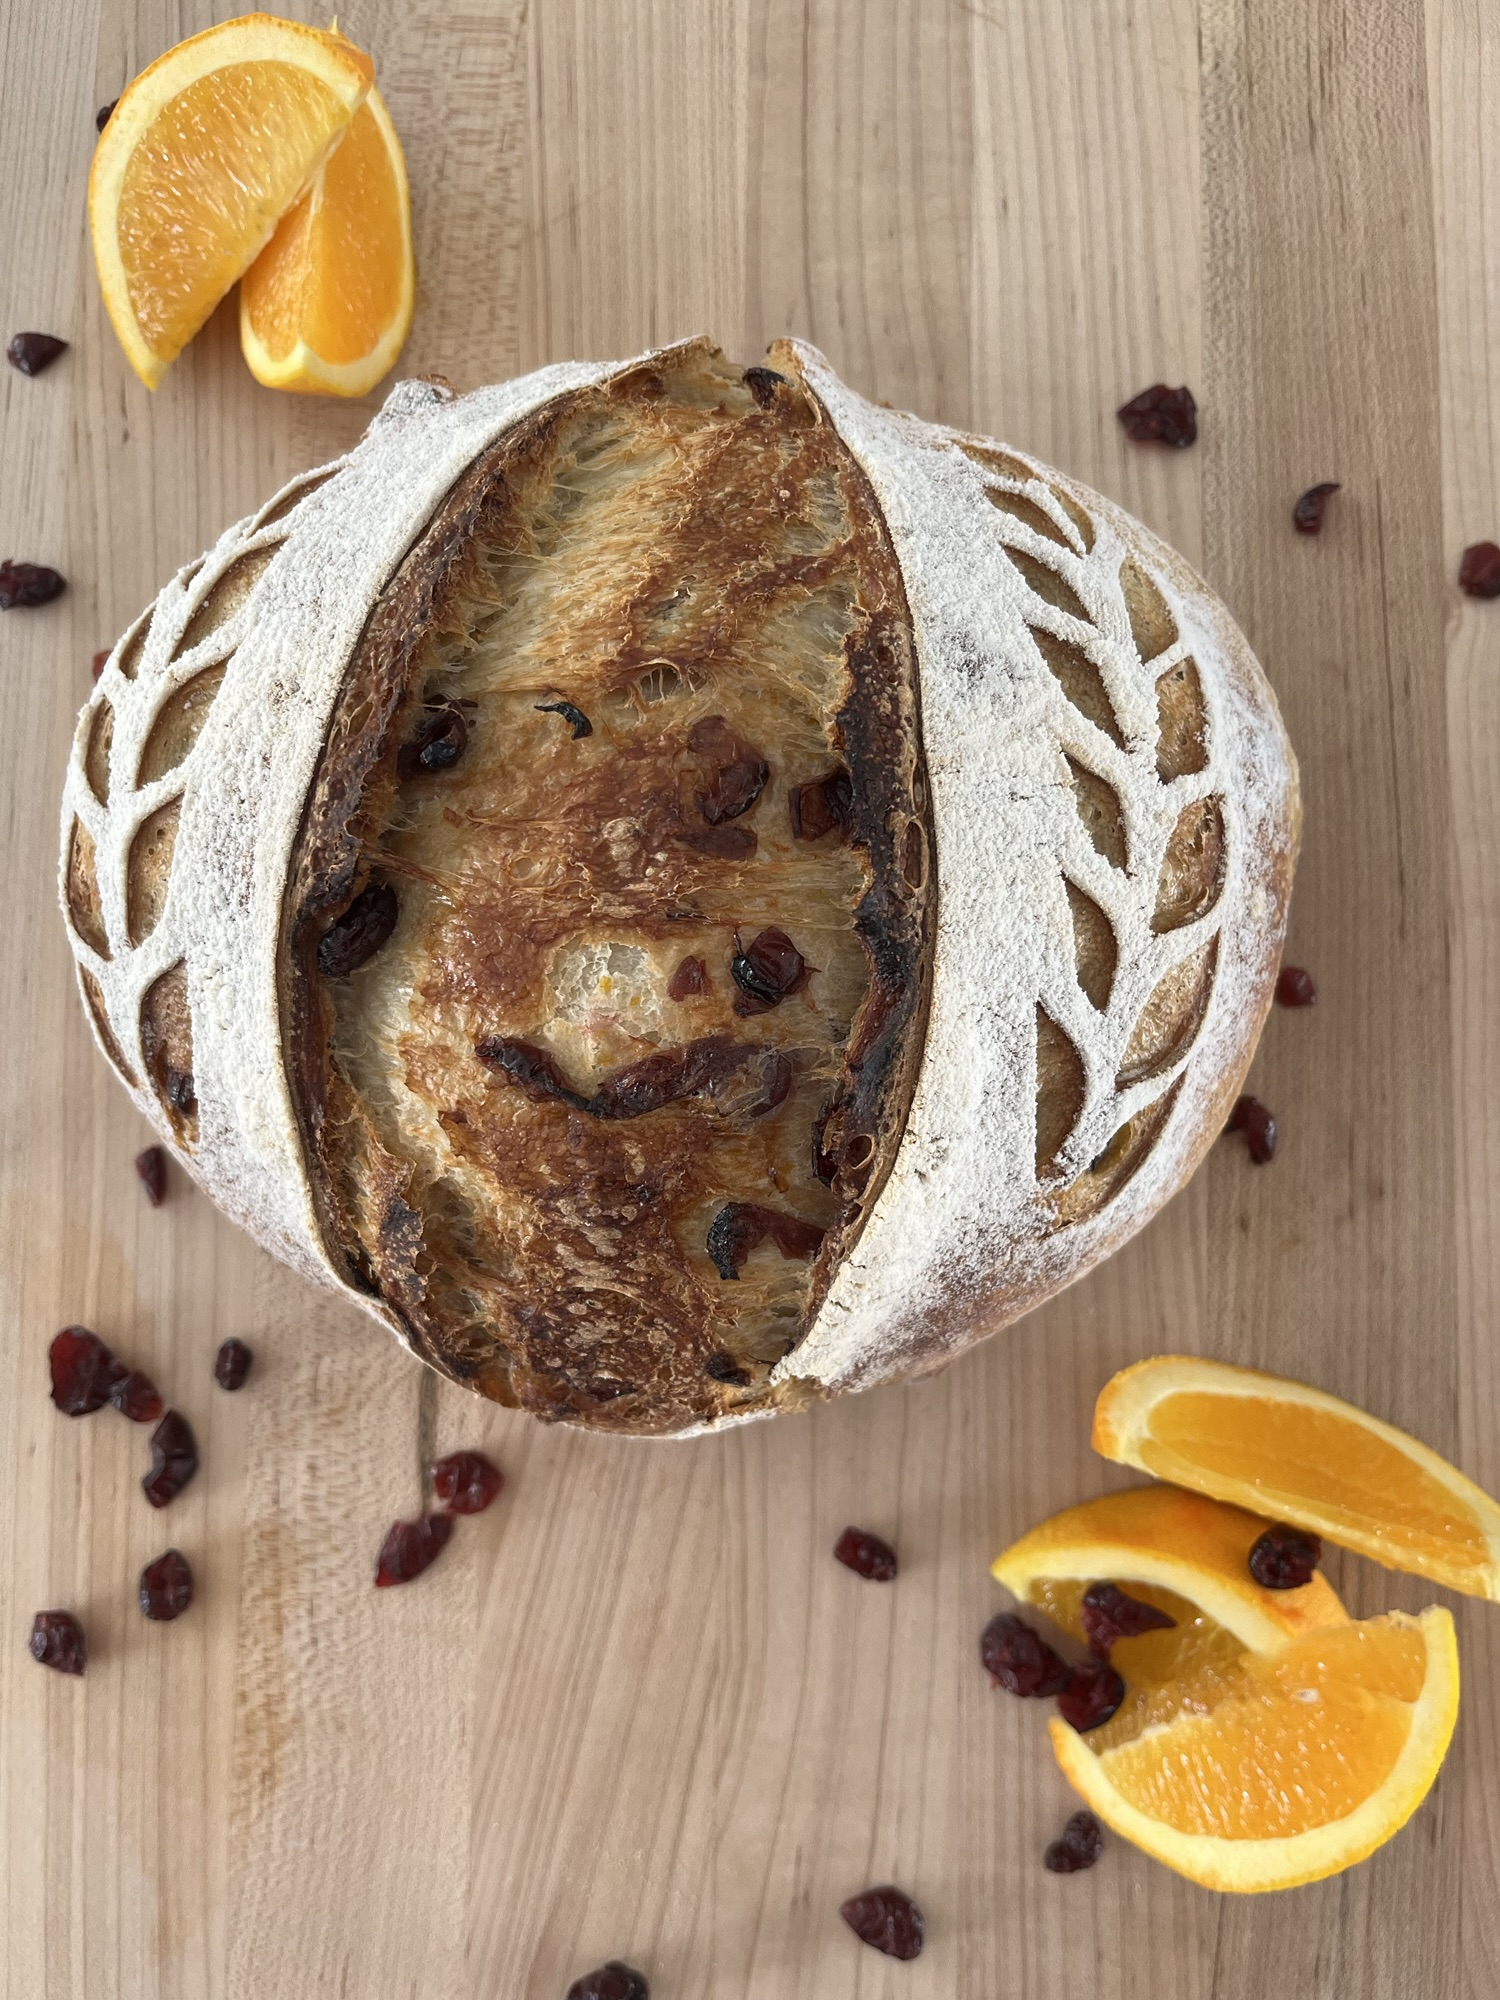
Cranberry Orange Sourdough Loaf
Equipment
- Large Mixing Bowl
- Kitchen scale
- Danish Dough Whisk
- Dutch Oven
- Bread Lame
- Banneton Basket
- Bench Scraper
Ingredients
- 100 grams active sourdough starter
- 200 grams water
- 150 grams orange juice fresh squeezed or store bought
- 25 grams granulated sugar
- 1 teaspoon orange extract optional, just adds a little more orange flavor
- 500 grams bread flour
- 10 grams sea salt
- 100 grams dried cranberries can substitute fresh cranberries, halved
- Zest of one large orange
Instructions
Prepare your sourdough starter
- Feed your sourdough starter at a 1:1:1 ratio about 4 hours before you want to mix up your dough. Combine 40 grams starter, 40 grams water, and 40 grams flour. Stir until everything is well combined and there are no dry bits of flour stuck to the bottom.
- Feed your sourdough starter at a 1:5:5 ratio about 12 hours before you want to mix up your dough. Combine 10 grams of starter, 50 grams of water, and 50 grams of flour. Stir until everything is well combined and there are no dry bits of flour stuck to the bottom.
- Your starter should be bubbly, at least doubled (maybe even tripled) in size, have a sweet, yeasty smell and a flat top. For best results, mix your dough up when your starter is at it’s peak.
Plump your dried cranberries
- In a small bowl, combine the dried cranberries in the orange juice. Place in the fridge overnight. This will keep the cranberries soft when the bread bakes.
Day 1: Prepare your dough
- Strain your dried cranberries from the orange juice. Set cranberries aside.
- Once your starter is ready, mix together: active starter, orange juice, hot water (your orange juice is going to be cold, so you want to use hot water), bread flour, sugar orange zest and orange extract. Mix with your dough whisk until a shaggy dough forms and there are no dry clumps of flour. Cover and let rest for 30 minutes.
- Stretch and Folds: Perform a series of “stretch and folds” throughout the next 2 hours. This is how you strengthen your dough since we don’t knead it. First, wet your hands, so the dough doesn’t stick to it. Reach to the bottom of the bowl, pull the dough up and over and place it on the top of the dough. Turn the bowl a quarter turn and repeat the stretching and folding motion 4-6 times. You’ll notice the dough changes through this process. Your first set will look a little bit shaggy, but by the end you should have a nice, smooth and elastic dough. Cover the bowl and wait about 30 minutes in between each set of stretch and folds.Stretch and fold #1: 30 minutes into bulk fermentationStretch and fold #2: 30 minutes later. This is when I like to add the cranberries.Stretch and fold #3: 30 minutes laterStretch and fold #4: Optional, if your dough is still sticky or isn’t starting to hold it’s shape in your bowl you can do a fourth set to continue adding strength to the dough.
- Finish bulk fermentation: Cover the dough and let rise for 1.5-2 more hours (longer in the winter when it’s cold). You’ll know the dough is ready to shape when the dough is puffed up, jiggles when you shake the bowl, has scattered bubbles visible on the sides and top.
- Pre-shape: Lightly flour your counter and place your dough on the floured counter. Gently pull your dough across your counter until you’ve got a round ball. Using a bench scraper can be helpful. The goal is to introduce some tension in your dough, but we’ll be back for the final shaping in a little bit.
- Bench Rest: Let the dough rest uncovered on the counter for about 30 minutes. The dough will probably flatten during this time. This allows the gluten in the dough to relax and prepares the dough for the final shaping.
- Shaping: Prepare your banneton basket. Place a kitchen towel in the bowl and flour as needed. Sprinkle a little flour on top of the dough. Using a bench scraper, lift the dough up off the counter and place it back on the countertop – floured side down. This ensures that the flour is staying mainly on the outside of the dough.For a boule (round loaf): Going around in a circle, pull the dough sideways towards you and then fold up to the top of the round. Turn 90 degrees and repeat the same process pulling the dough sideways and then folding up to the top. As you continue this process around the dough, increase the tension as you pull. Gather the bread into a circle and place into your prepared bowl. Place into your prepared banneton basket.For a batard (oval loaf): stretch your dough into a chubby rectangle. Fold into thirds – like you would fold a letter for an envelope. Then roll the dough up and pinch the sides together. Gently pull the dough back across the counter to build tension. Place into your prepared banneton basket.Take any cranberries that are peaking out of the bottom and stitch them into the dough so they don't burn.
- Cold Fermentation: Cover the dough and refrigerate overnight or up to 36 hours. If you want to bake the same day, you can skip this step and let the dough rise for about 2-3 hours in the banneton basket until it’s puffed up and risen. Then bake according to recipe directions.
Day 2: Baking
- Preheat your oven and Dutch oven to 450 °F for 45 minutes.
- Once preheated, pull the loaf out of the refrigerator and remove the covering. Place a piece of parchment paper on top of the dough. Flip the dough over so it is now sitting on the parchment paper.
- Scoring: Use a bread lame score the dough. Decorative scores should be shallow. Your expansion score should be deep. You'll have to be careful scoring this loaf because of the cranberries.
- Baking: Carefully remove the Dutch oven from the oven. Take the lid off and place your bread into the Dutch oven (including parchment paper – this helps with the transfer). Put the lid on and put back in the oven. Bake for 25 minutes, then remove the lid of the Dutch oven and continue baking for 20 minutes until the bread is a crackly deep brown. Remove the Dutch oven and place on a wire cooling rack. Your bread is fully cooked when it reaches an internal temperature of 200-210 °F
- Cooling. I know it’s hard, but try to let your loaf cool for at least one hour before you slice into it.
Notes
Some of the links on this page are affiliate links. This means that if you click on a link and make a purchase, I may earn a small commission at no extra cost to you. These commissions help support the content I create and allow me to continue providing valuable information. I only recommend products and services that I trust and believe in.
Leave a Reply